
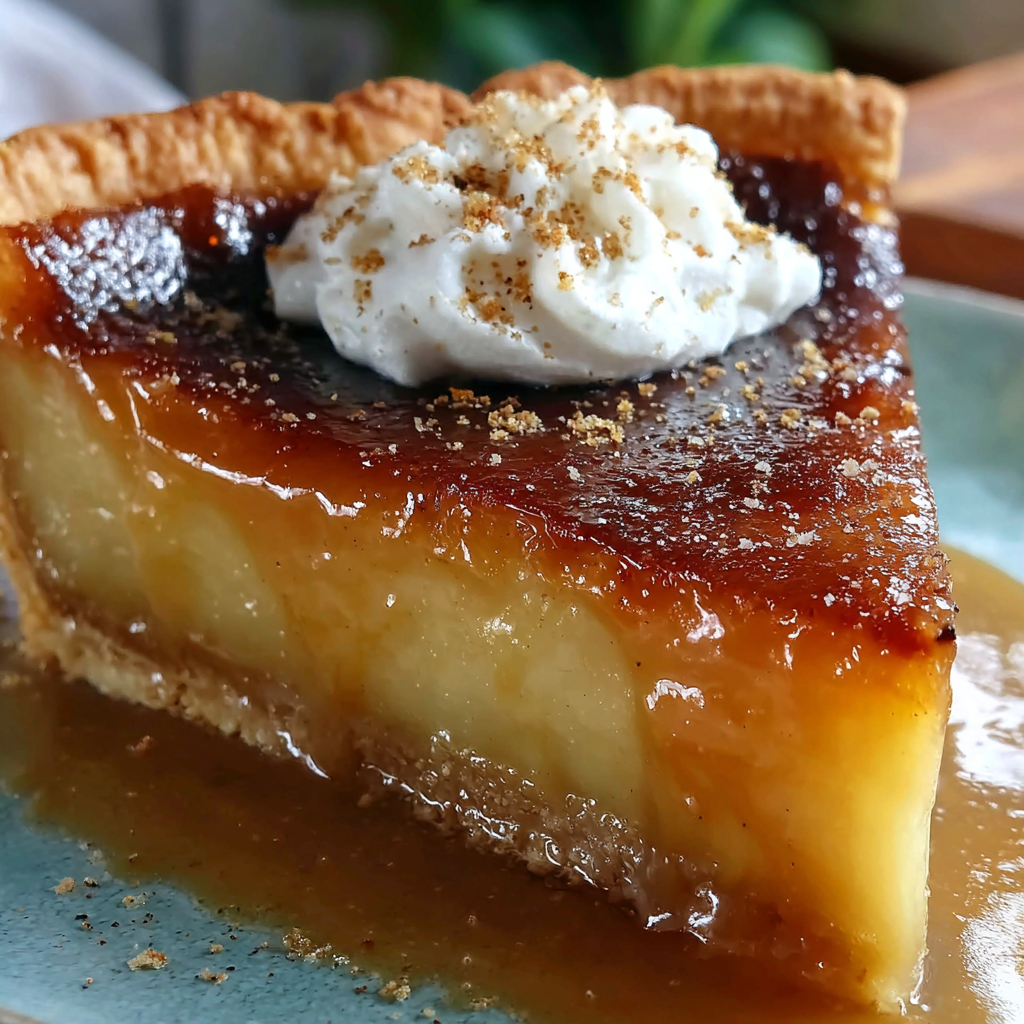
I remember my grandmother’s kitchen. It always smelled of warm sugar and something else… a slightly smoky sweetness. That something was her famous burnt honey cake, a family favorite. It wasn’t about perfection; it was about the depth of flavor you could only get from letting the honey caramelize, just a little too much. This Burnt Honey Pie is my homage to her, a modern take on that beloved childhood memory, translating that comforting char into a stunning and unforgettable dessert. It’s a pie that truly delivers bold flavor in every bite!
Why You’ll Love This Recipe
This isn’t your grandma’s average apple or pumpkin pie. This pie is a flavor adventure. Here’s why you’ll adore it:
- Unique, Complex Flavor: The burnt honey creates a deep, almost molasses-like flavor with a hint of smokiness. It’s balanced beautifully by the tartness of the apples and the warmth of spices.
- Surprisingly Easy: Don’t let the sophisticated flavor fool you. This recipe is entirely manageable, even for beginner bakers.
- Impressive Presentation: A golden-brown crust and a generously filled pie scream “homemade goodness.” It’s perfect for potlucks, holidays, or simply treating yourself.
- Comfort Food with a Twist: It’s got that cozy, autumnal vibe, but with a distinctive edge that makes it interesting.
The Ingredients You’ll Need
Here’s what you’ll need to create your own Burnt Honey Pie masterpiece. Don’t worry, most of these are staples you probably already have!
For the Crust (or use a store-bought one – no shame!):
- 1 1/4 cups all-purpose flour
- 1/2 teaspoon salt
- 1/2 cup (1 stick) unsalted butter, very cold and cubed
- 4-6 tablespoons ice water
For the Filling:
- 6 cups Granny Smith apples, peeled, cored, and sliced (about 6-8 apples)
- 1/2 cup burnt honey (see instructions below!)
- 1/4 cup granulated sugar
- 2 tablespoons all-purpose flour
- 1 teaspoon ground cinnamon
- 1/2 teaspoon ground nutmeg
- 1/4 teaspoon ground cloves
- 2 tablespoons unsalted butter, cut into small pieces
- 1 tablespoon lemon juice
Let’s Bake! – Step-by-Step Instructions
1. Make the Crust (or Unbox Your Store-Bought)
- If making your own: In a large bowl, whisk together the flour and salt. Cut in the cold butter using a pastry blender or your fingers until the mixture resembles coarse crumbs. Gradually add the ice water, one tablespoon at a time, mixing until the dough just comes together. Don’t overmix!
- Wrap the dough in plastic wrap and chill in the refrigerator for at least 30 minutes.
- On a lightly floured surface, roll out the dough into a 12-inch circle.
- Carefully transfer the dough to a 9-inch pie plate. Trim and crimp the edges.
- Chill the crust in the refrigerator while you prepare the filling. A cold crust bakes up flaky!
2. Burnt Honey Magic
This is where the magic happens. Don’t be scared!
- In a medium saucepan over medium heat, pour in 1/2 cup of honey.
- Let the honey cook, undisturbed, for 5-8 minutes, or until it turns a deep amber color and smells slightly smoky. Keep a very close eye on it. It can burn quickly!
- Carefully remove from the heat and let it cool slightly. This will thicken as it cools.
3. Assembling the Pie Filling
- In a large bowl, combine the sliced apples, granulated sugar, flour, cinnamon, nutmeg, and cloves. Toss gently to coat the apples evenly.
- Stir in the burnt honey and lemon juice. Mix well to ensure everything is incorporated.
4. Filling the Pie and Baking
- Pour the apple filling into the prepared pie crust.
- Dot the top of the filling with the small pieces of butter.
- If you want, create a top crust. Or, for a simpler option, use a lattice crust or just leave it open-faced.
- Bake in a preheated oven at 375°F (190°C) for 45-55 minutes, or until the crust is golden brown and the filling is bubbling. If the crust starts to brown too quickly, tent it with foil.
- Let the pie cool completely on a wire rack before slicing and serving. This is crucial to allow the filling to set. Resist the urge to dig in right away!
Tips, Variations, and Serving Suggestions
- Apple Variety: While Granny Smith provides a perfect tartness, you can use a mix of apples, like Honeycrisp or Fuji, for a slightly sweeter flavor.
- Spice it Up: Add a pinch of cayenne pepper to the filling for a subtle warmth. Cardamom also pairs beautifully with honey and apples.
- Nuts About It: Sprinkle chopped pecans or walnuts over the filling before baking for added texture and flavor.
- Bourbon Boost: A tablespoon of bourbon added to the filling adds a delightful complexity.
- Whipped Cream and Ice Cream: A scoop of vanilla ice cream or a dollop of freshly whipped cream is the perfect accompaniment to this pie.
- Serve Warm or Cold: While it’s best to let it cool completely, a slightly warm slice is still incredibly delicious.
- Storage: Store any leftover pie in the refrigerator for up to 3 days.
Nutritional Information (Approximate, per slice – based on 8 servings)
- Calories: 350-400
- Fat: 15-20g
- Carbohydrates: 50-60g
- Protein: 3-5g
Please note that these are estimates, and actual values may vary depending on ingredients used.
Your New Favorite Pie Awaits!
This Burnt Honey Pie really is something special. It’s a dessert that’s both comforting and intriguing – it’s a conversation starter and a guaranteed crowd-pleaser. Don’t be intimidated by the “burnt” element; it’s what makes this pie truly unique. Embrace the rich, smoky sweetness, and impress your friends and family with this bold flavor in every bite. Give it a try – you won’t regret it! Happy baking!